Make your own!
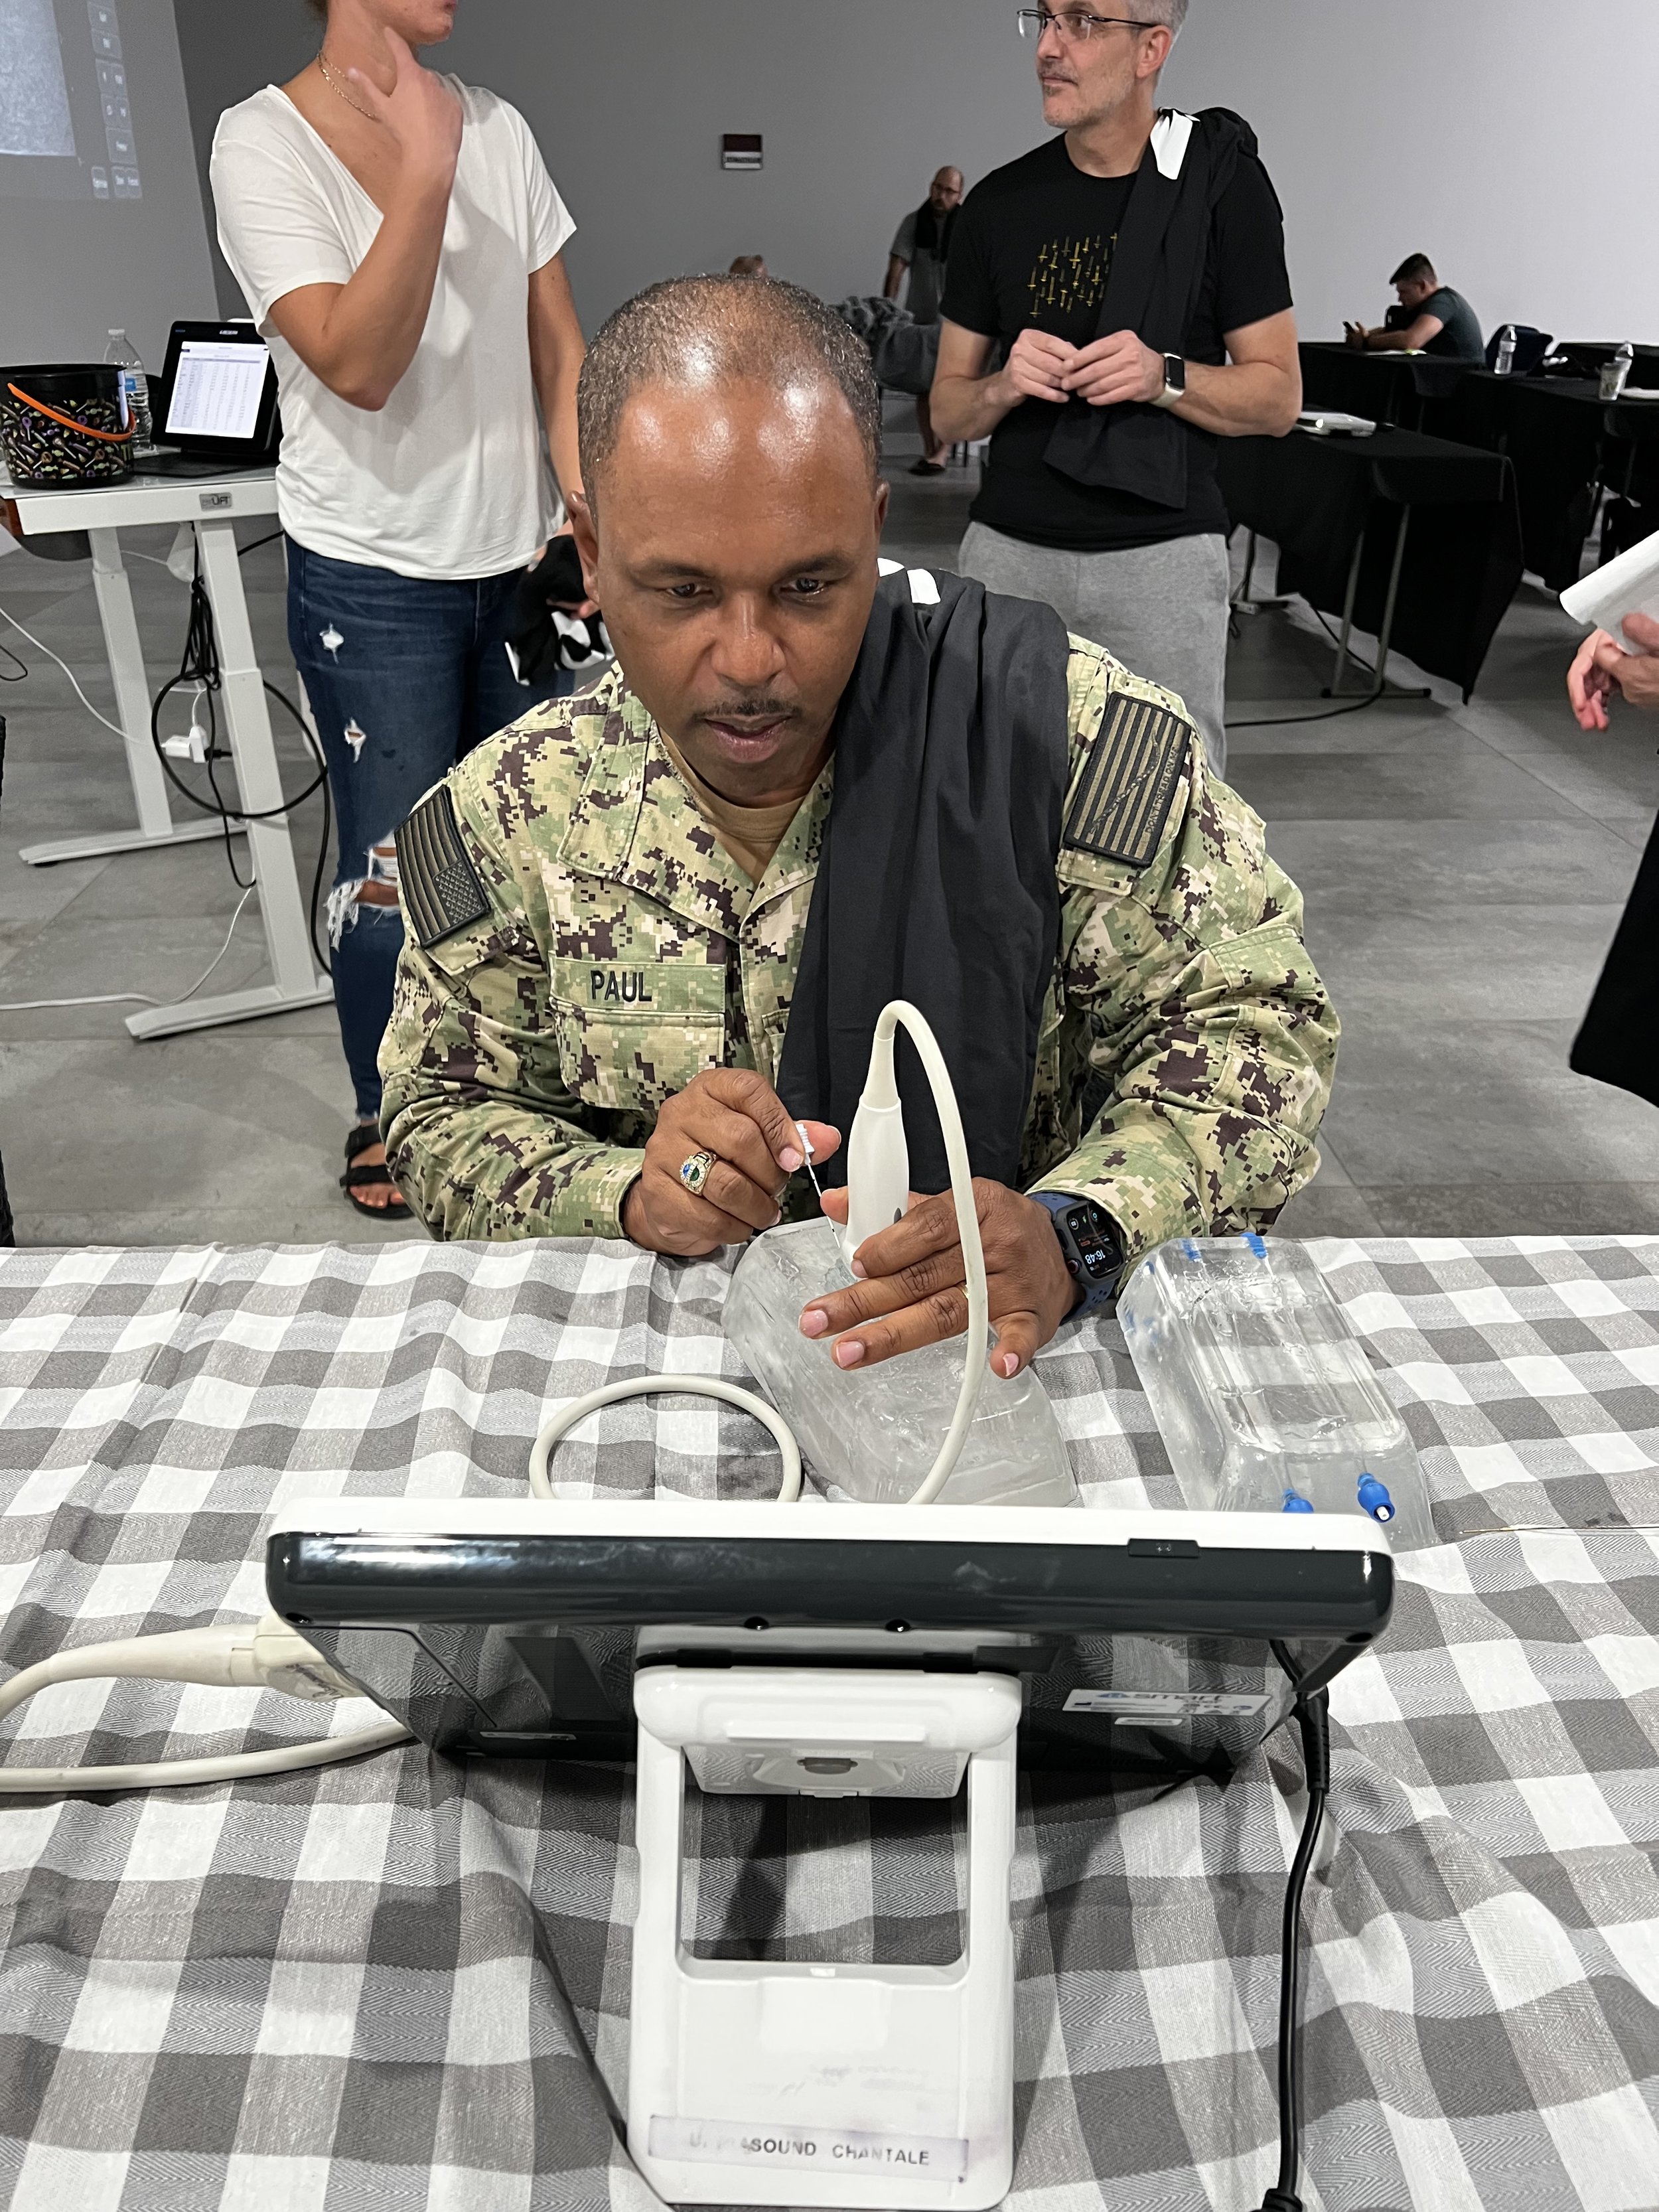
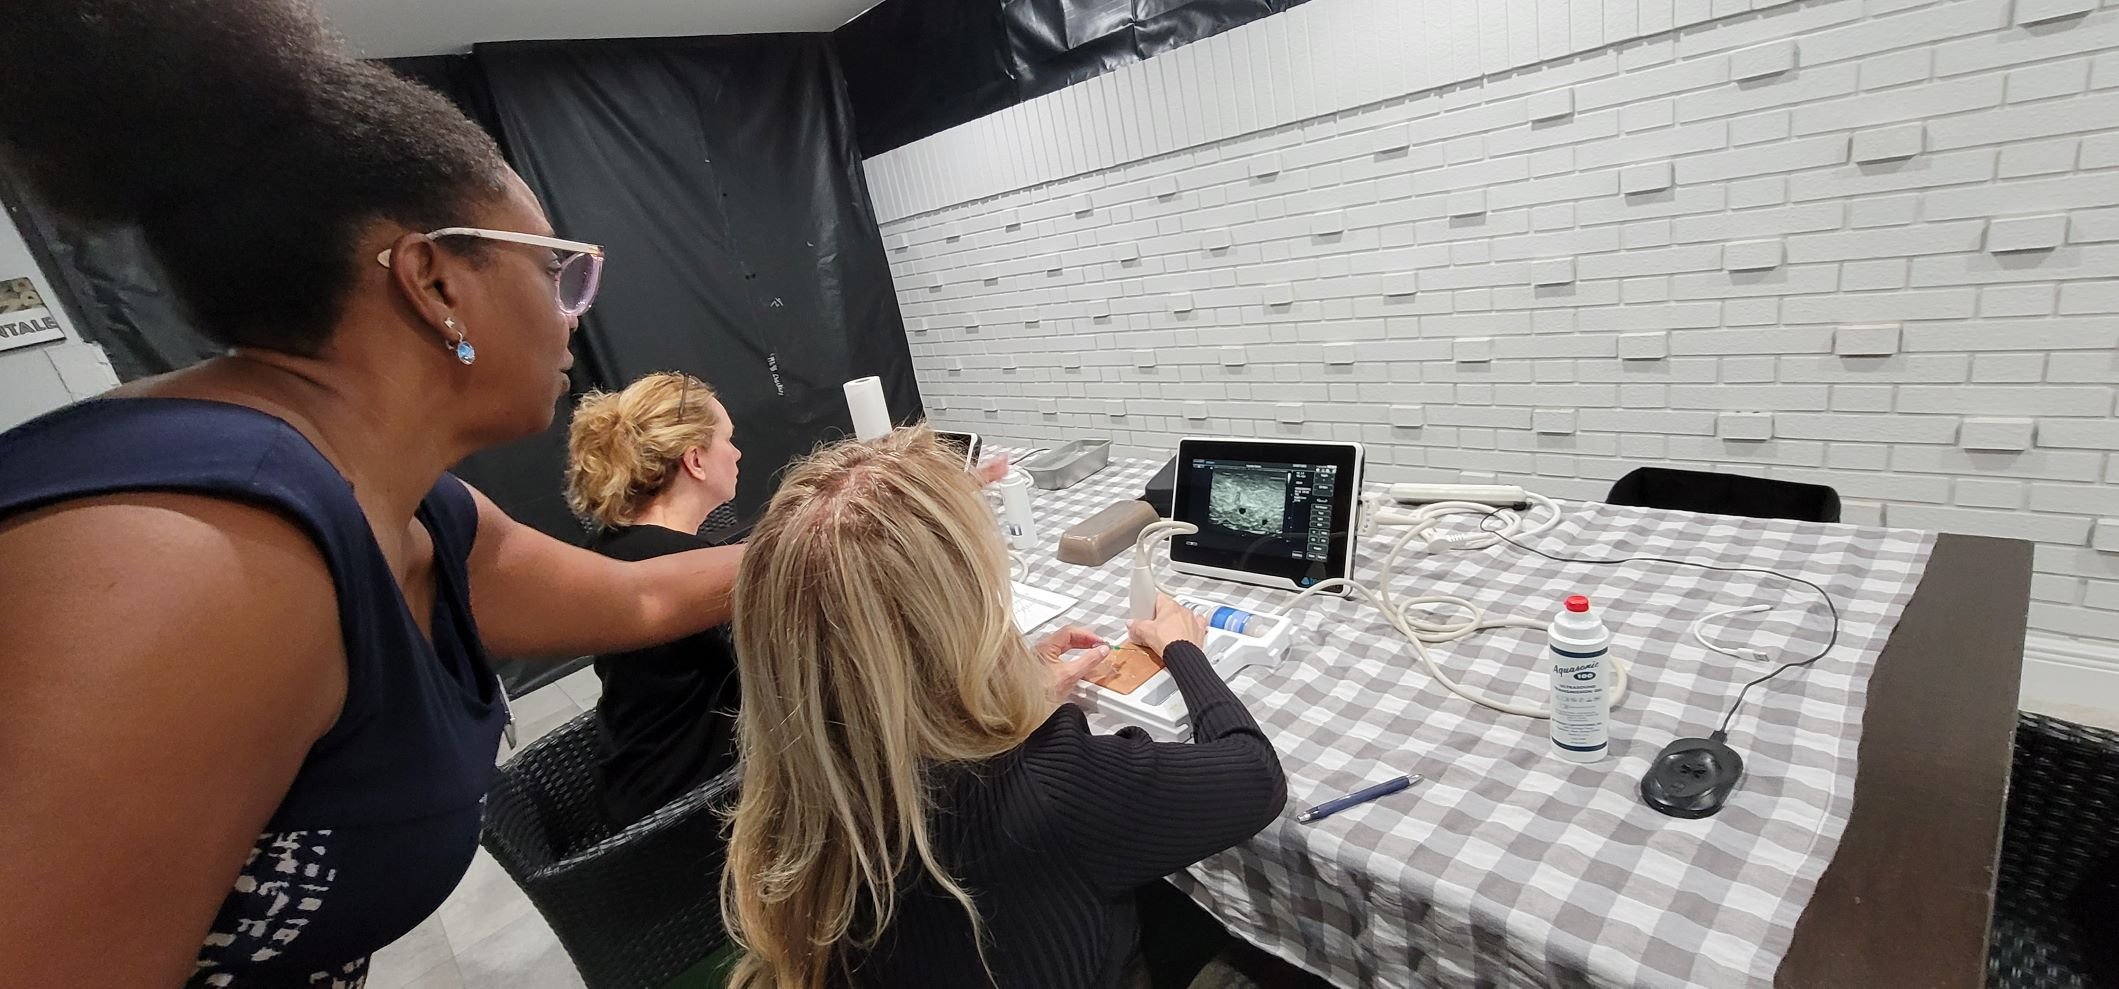
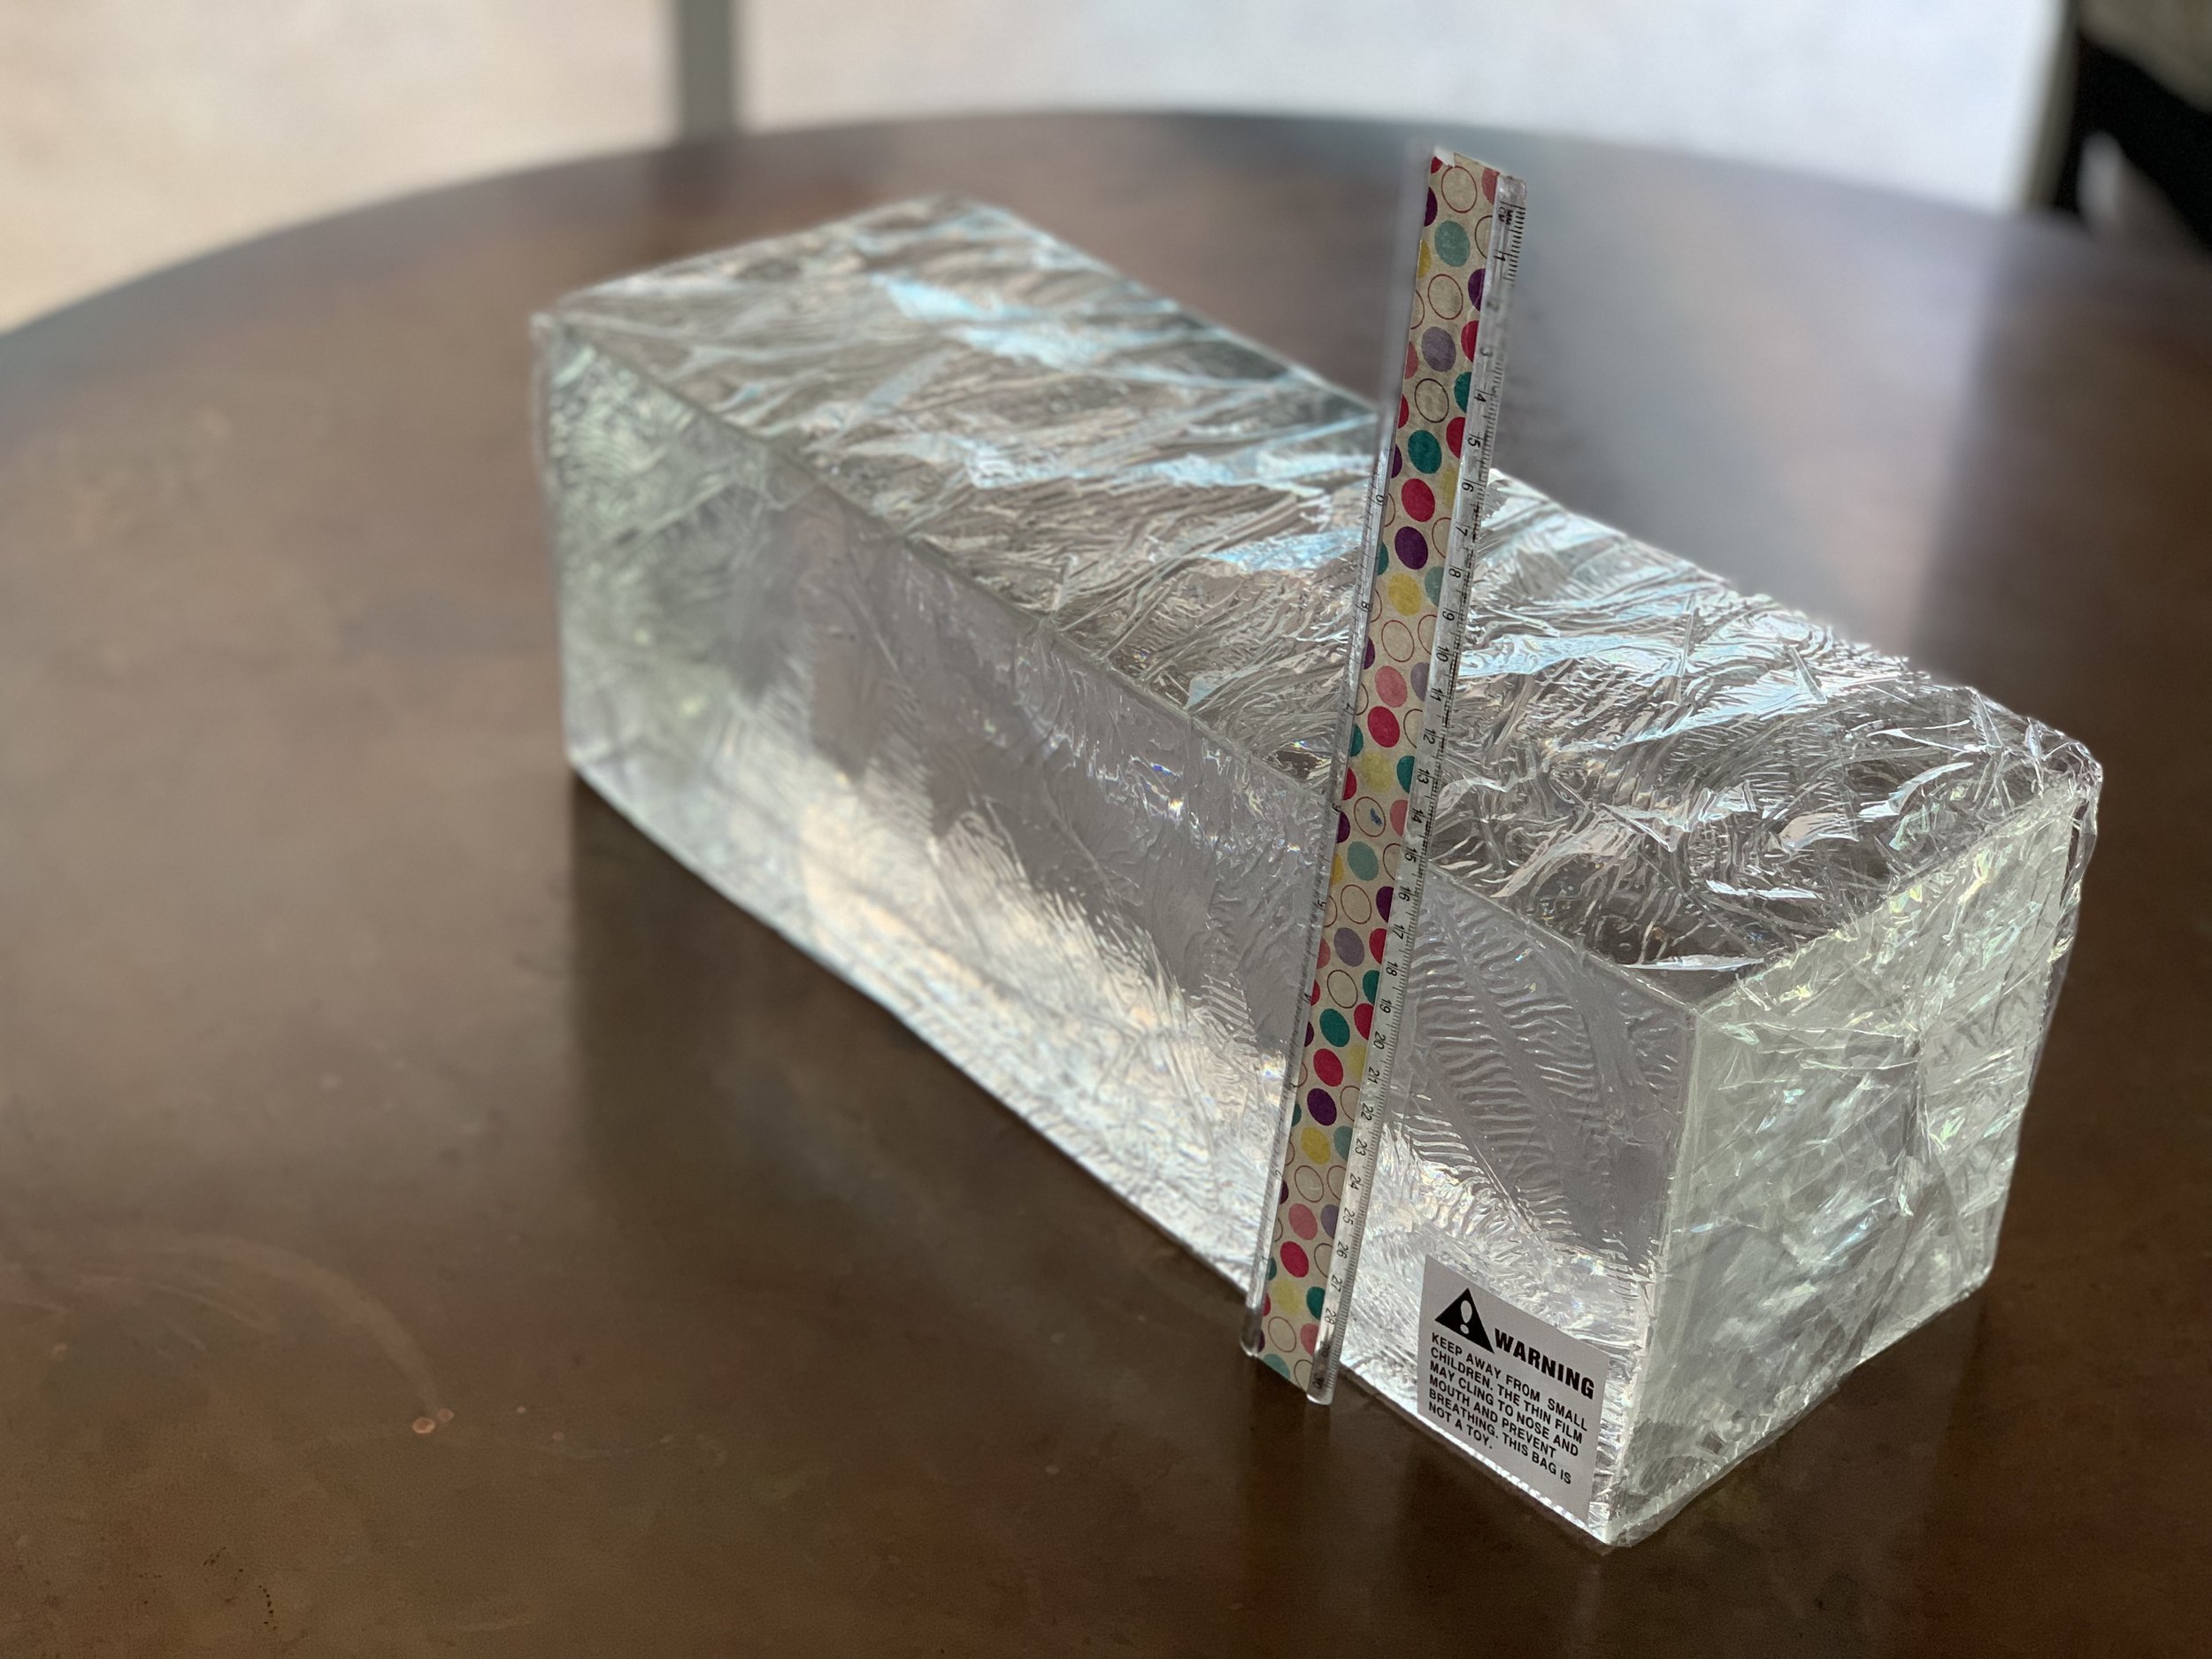
We have had several questions on how to make a gel model for needle guidance practice? Additionally, we have been frustrated with current the gel models on the market today as they are colored which impedes one’s ability to see the needle going into the model. Having a clear gel model allows the user to not only see where the needle is in the model, but also “connect the dots” when first learning to use ultrasound imaging to see the needle in the gel model for practice.
Watch The Video!
Directions:
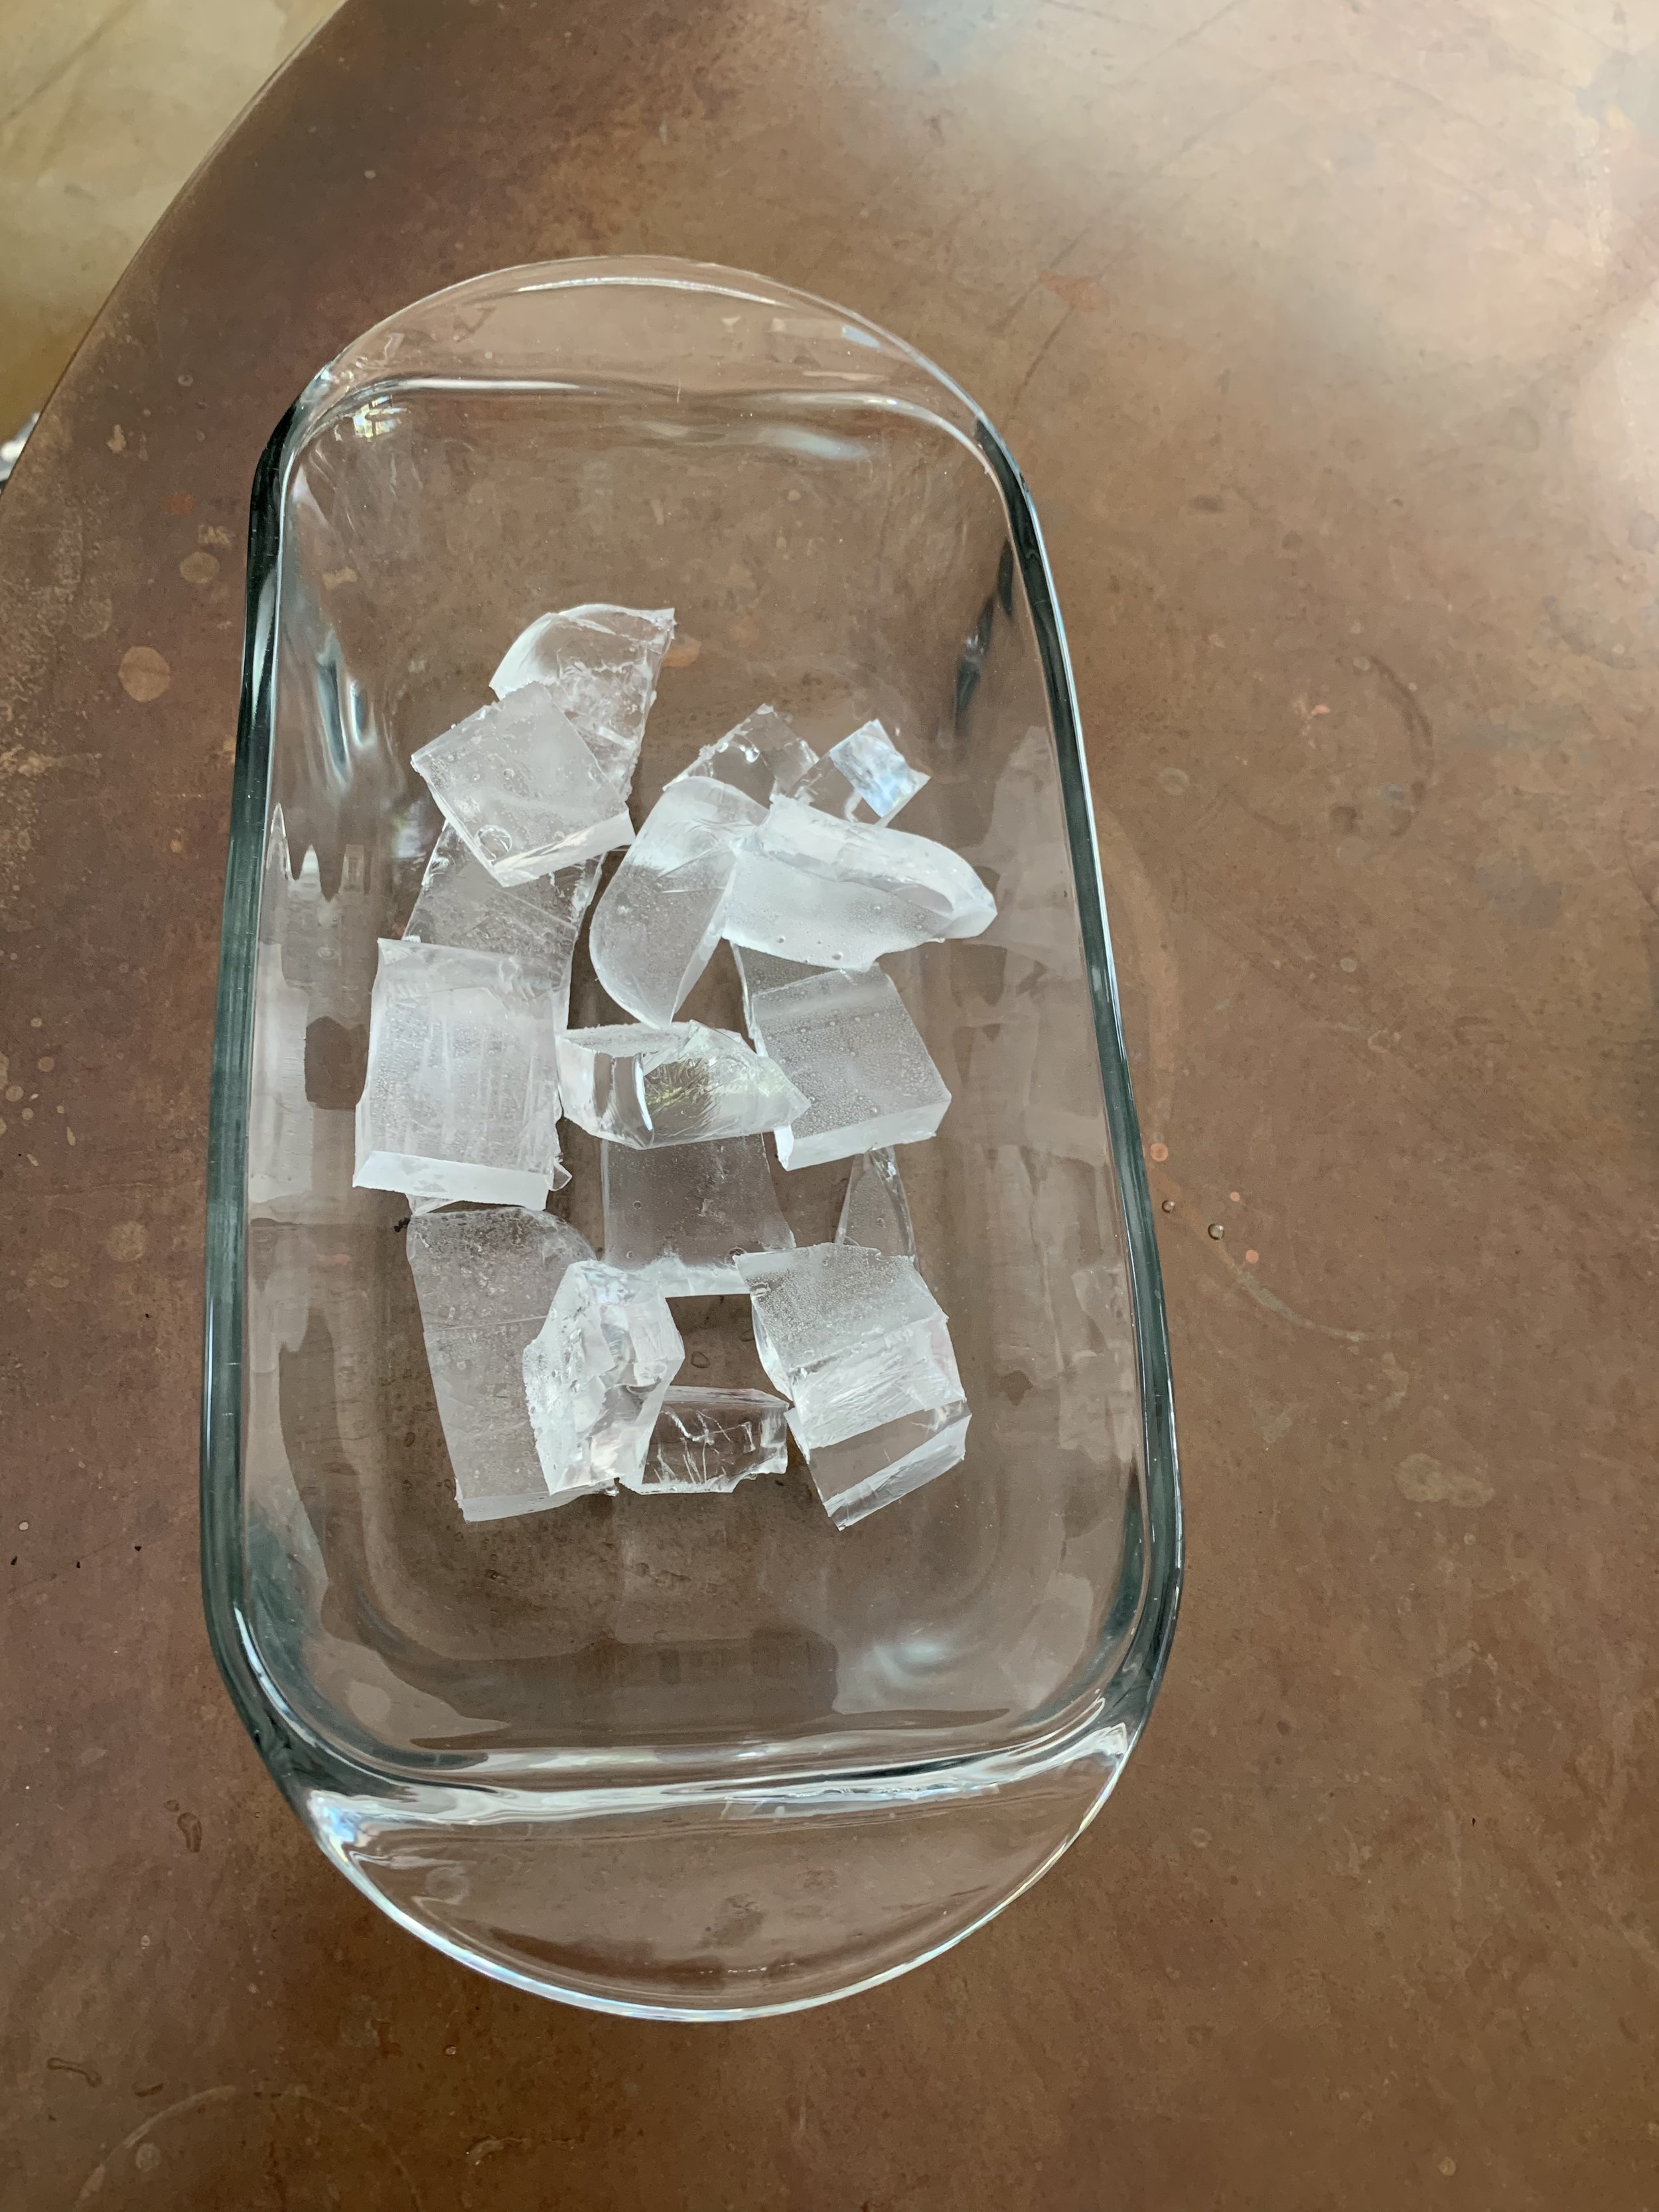
Get the “less than perfect” 10% gel. Click here to order
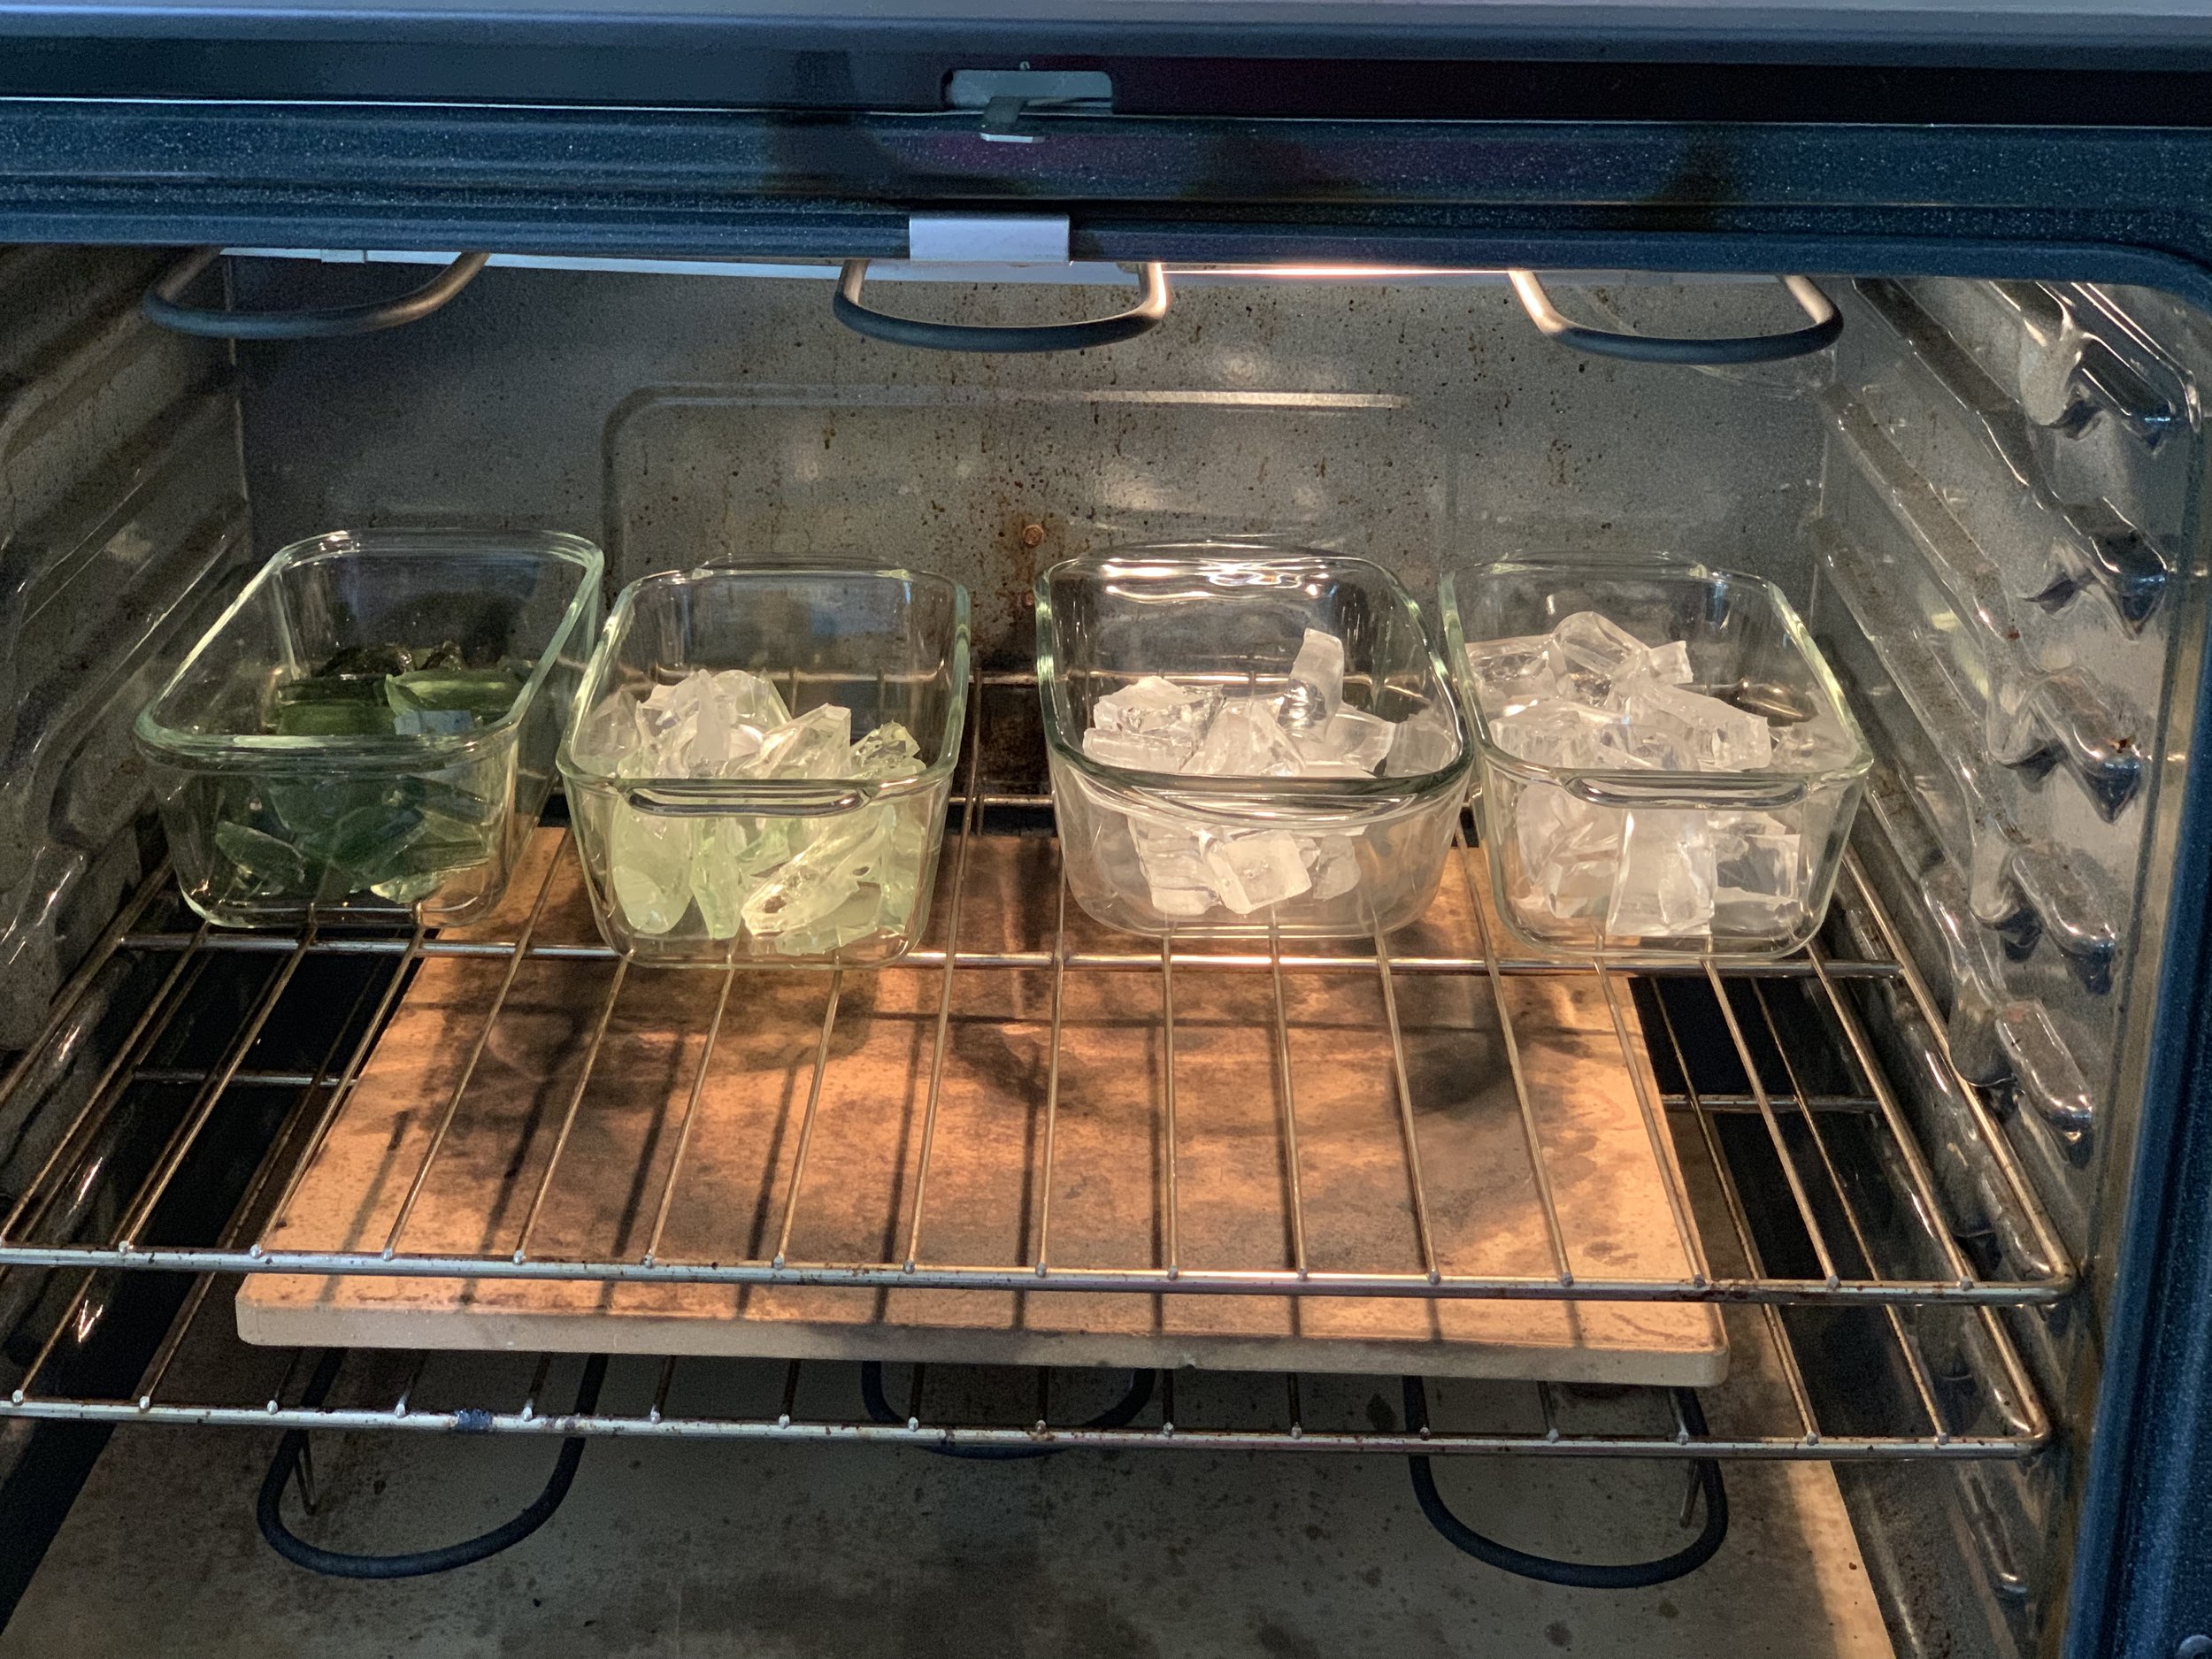
Break up about a 4x4 block of gel into two (2) Pryex bread pans (doesn’t have to be exactly half and half).
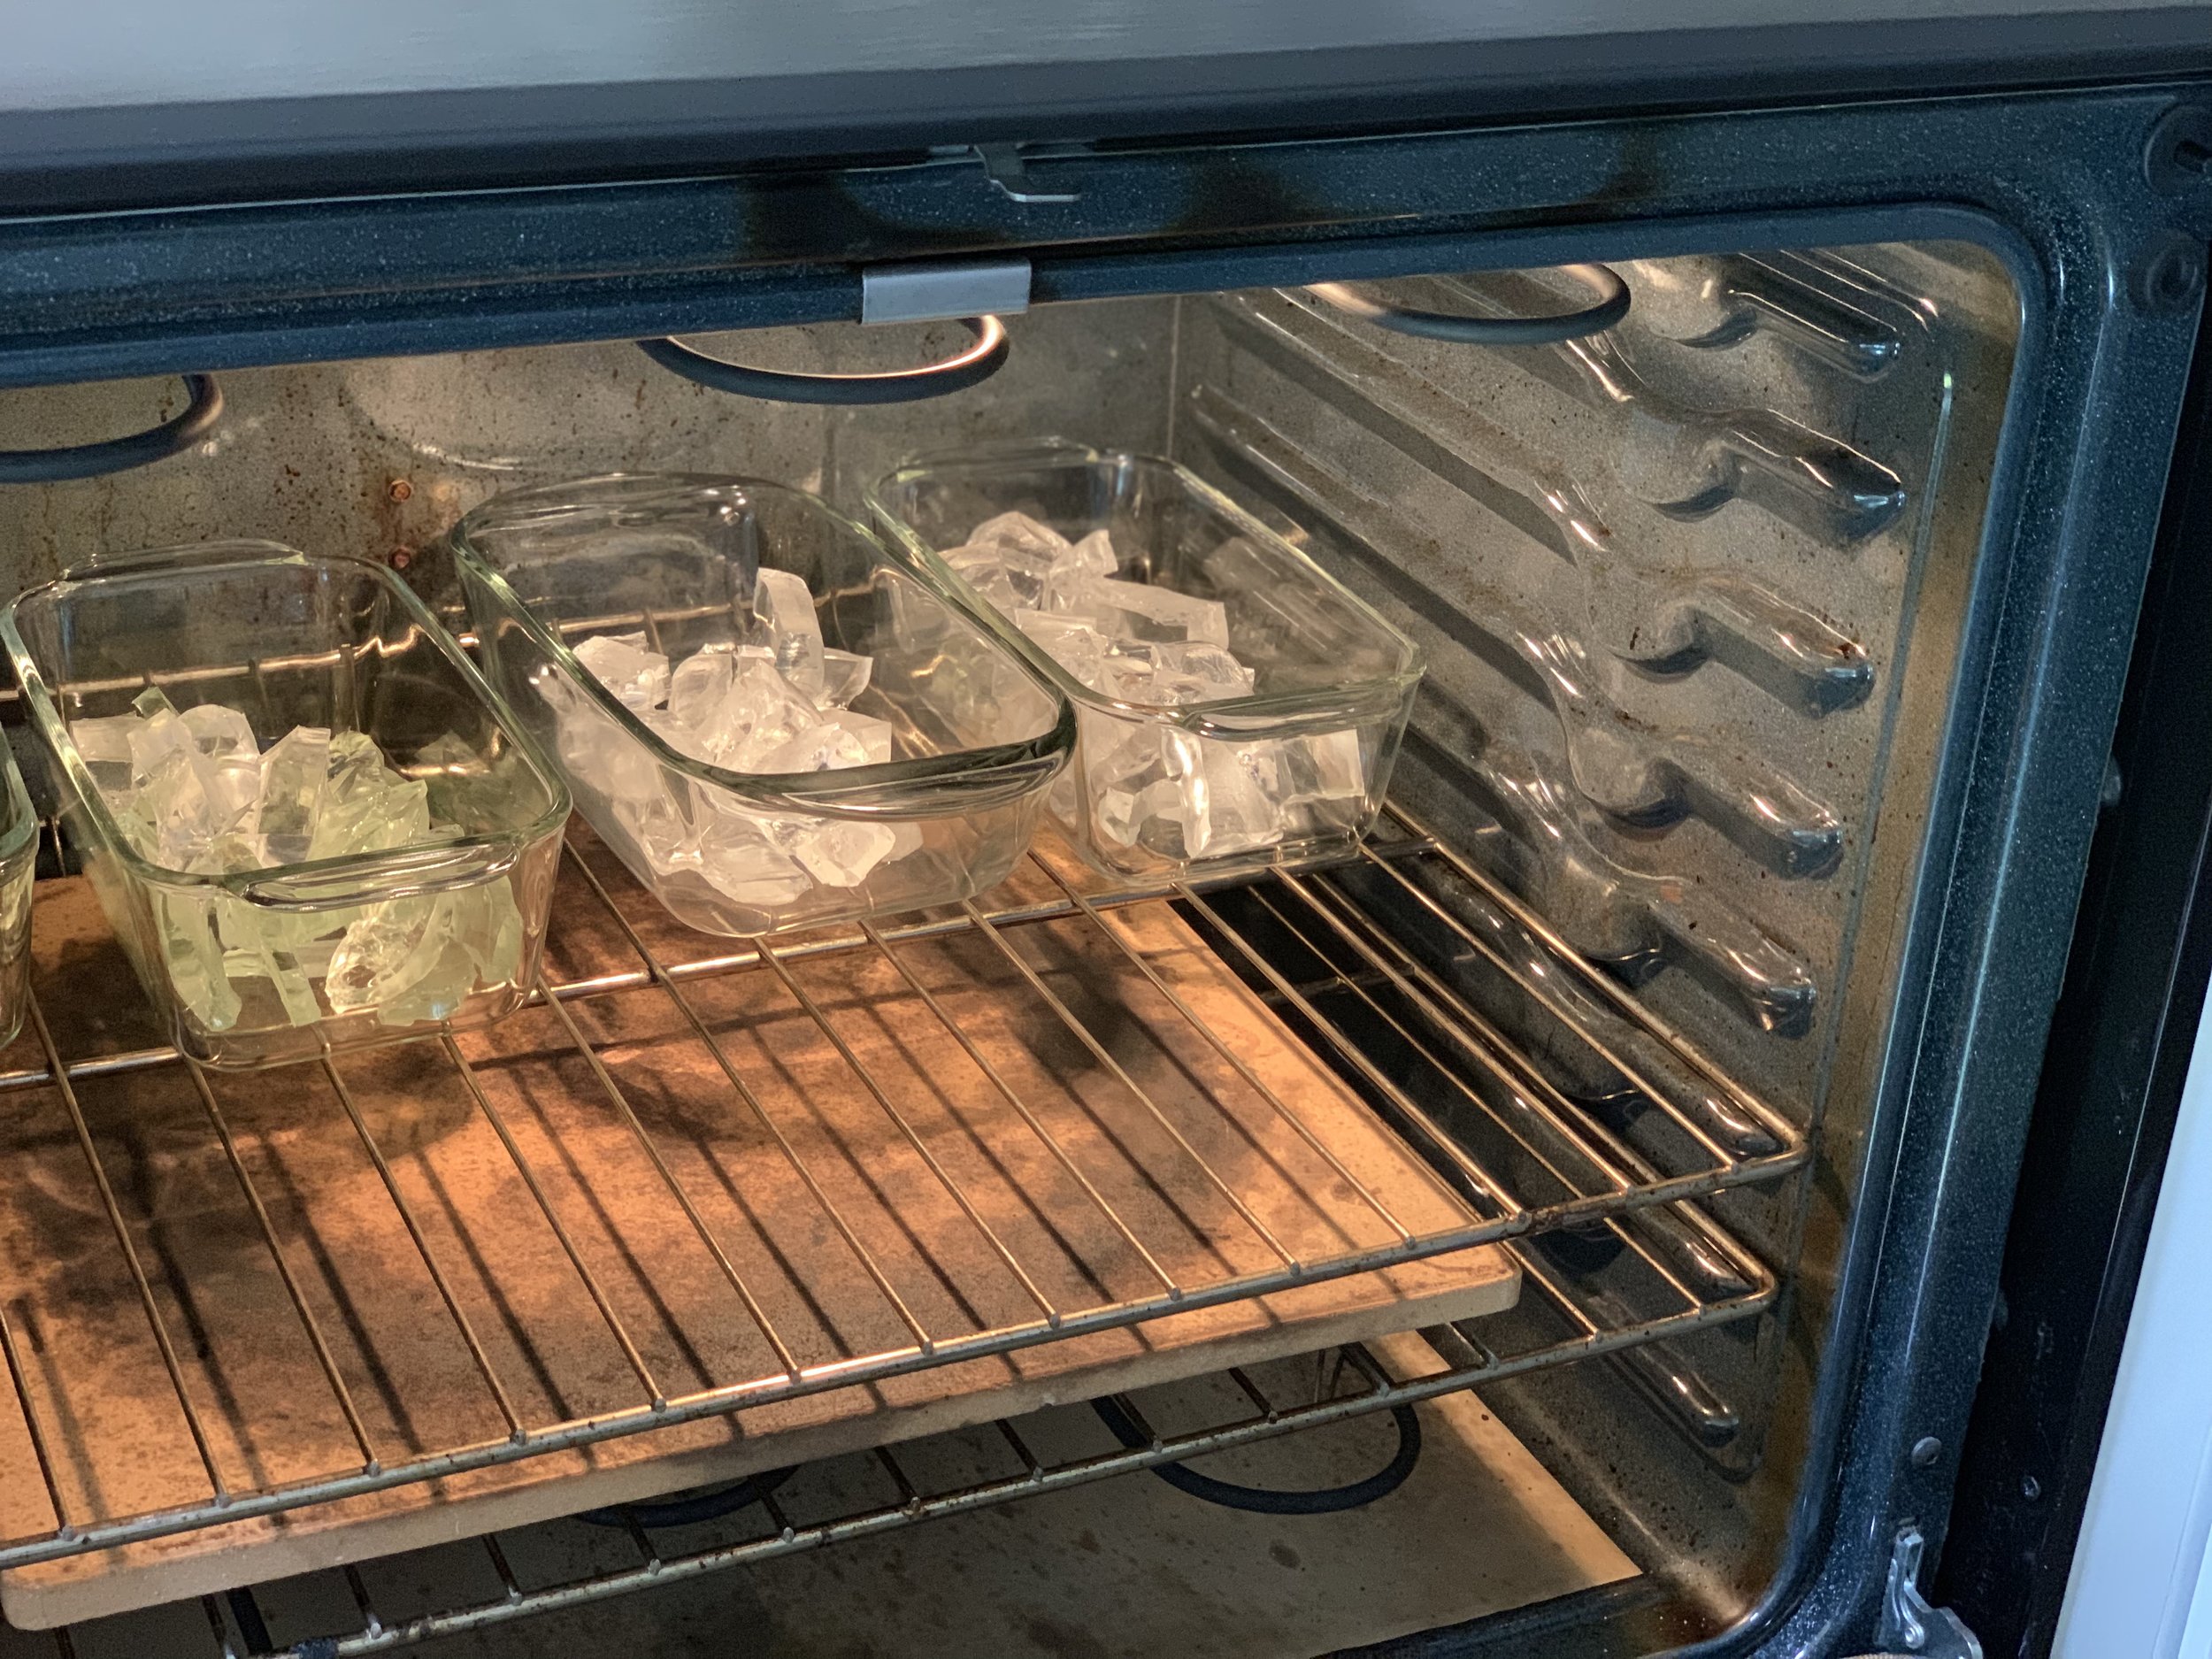
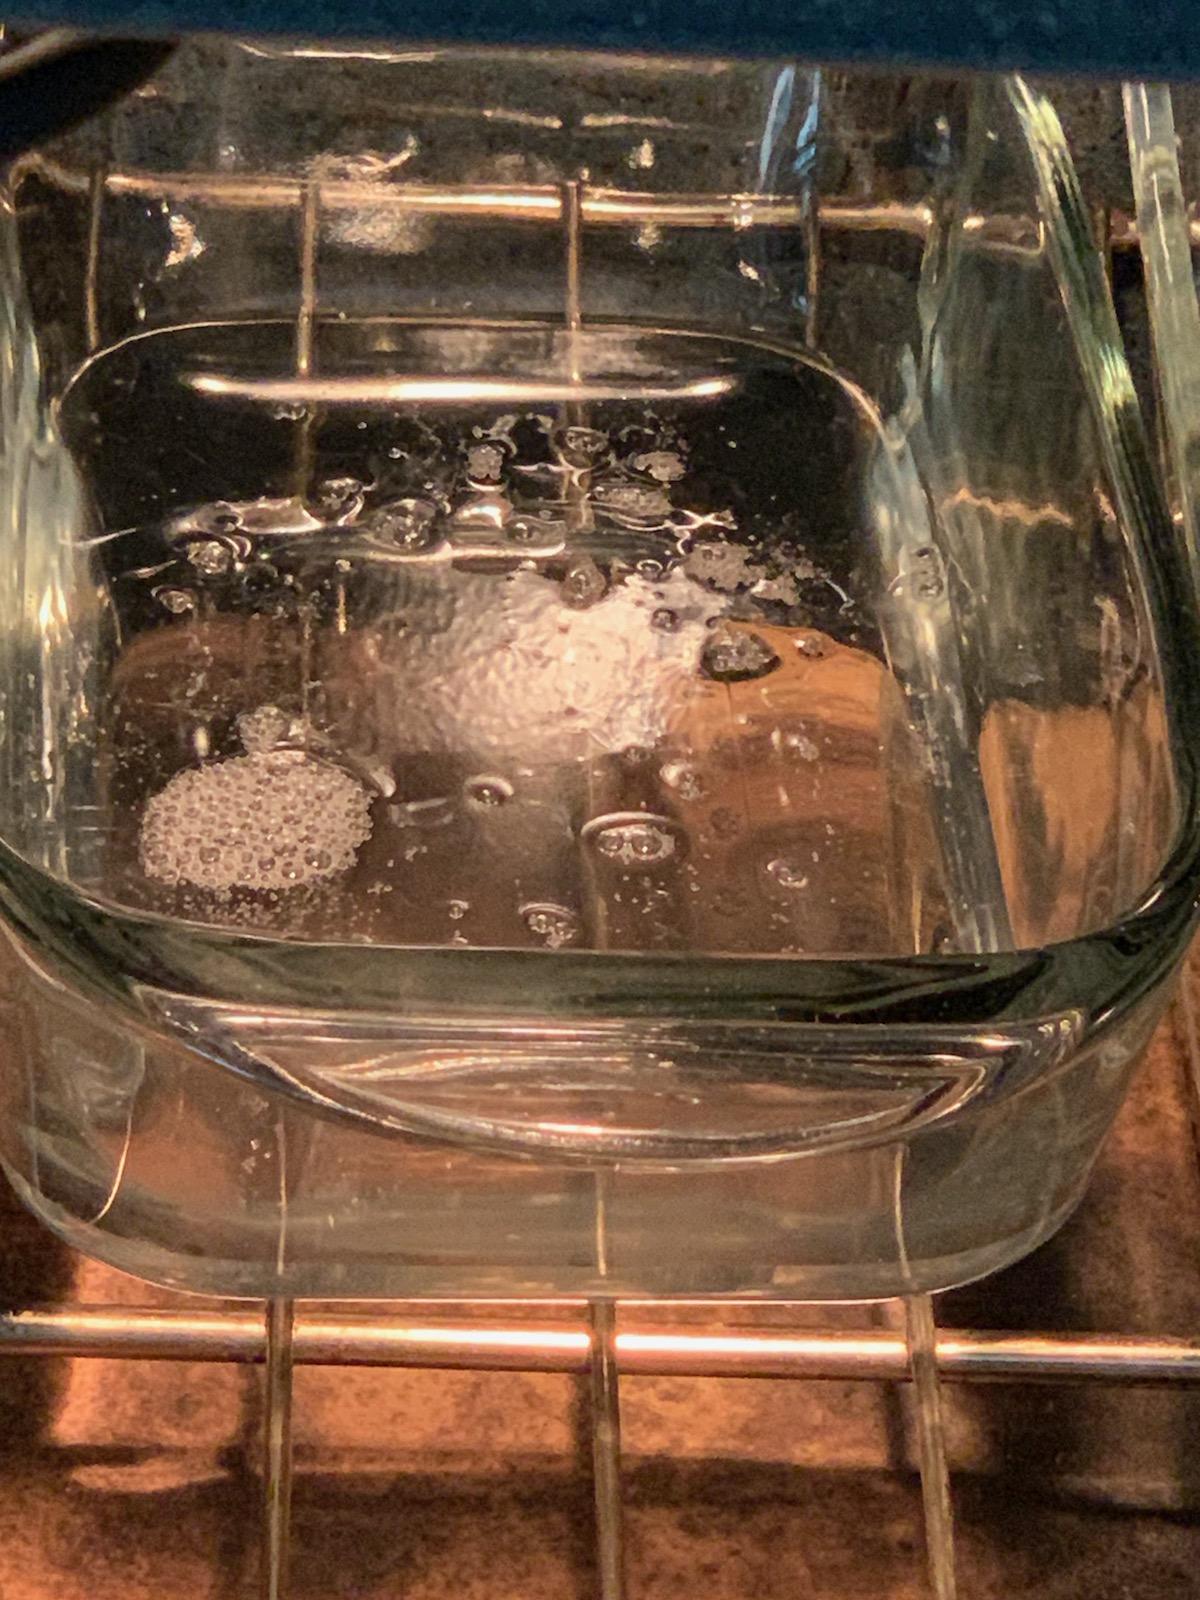
Preheat oven to 250 degrees and put the pans into the oven.
It will take about an hour or so. Watch the gel and when the bubbles disappear from it’s surface you can take one of the pans out of the oven and set on the counter to cool for about 10 minutes.
Place parchment paper, cut just smaller than the bread pan, on top of the cooling gel, leave it on the counter to cool for another 15-20 minutes.
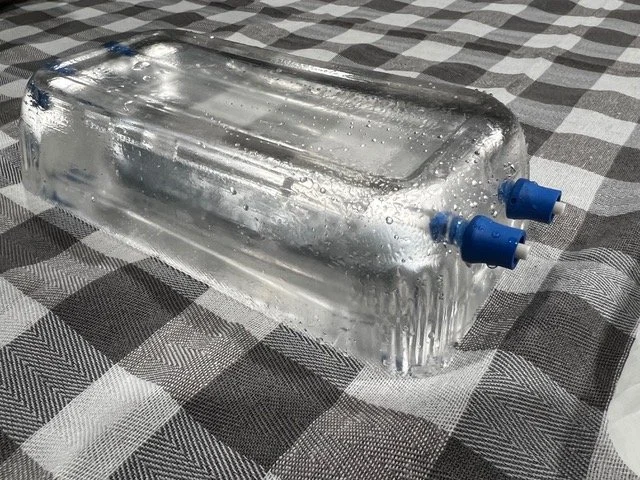
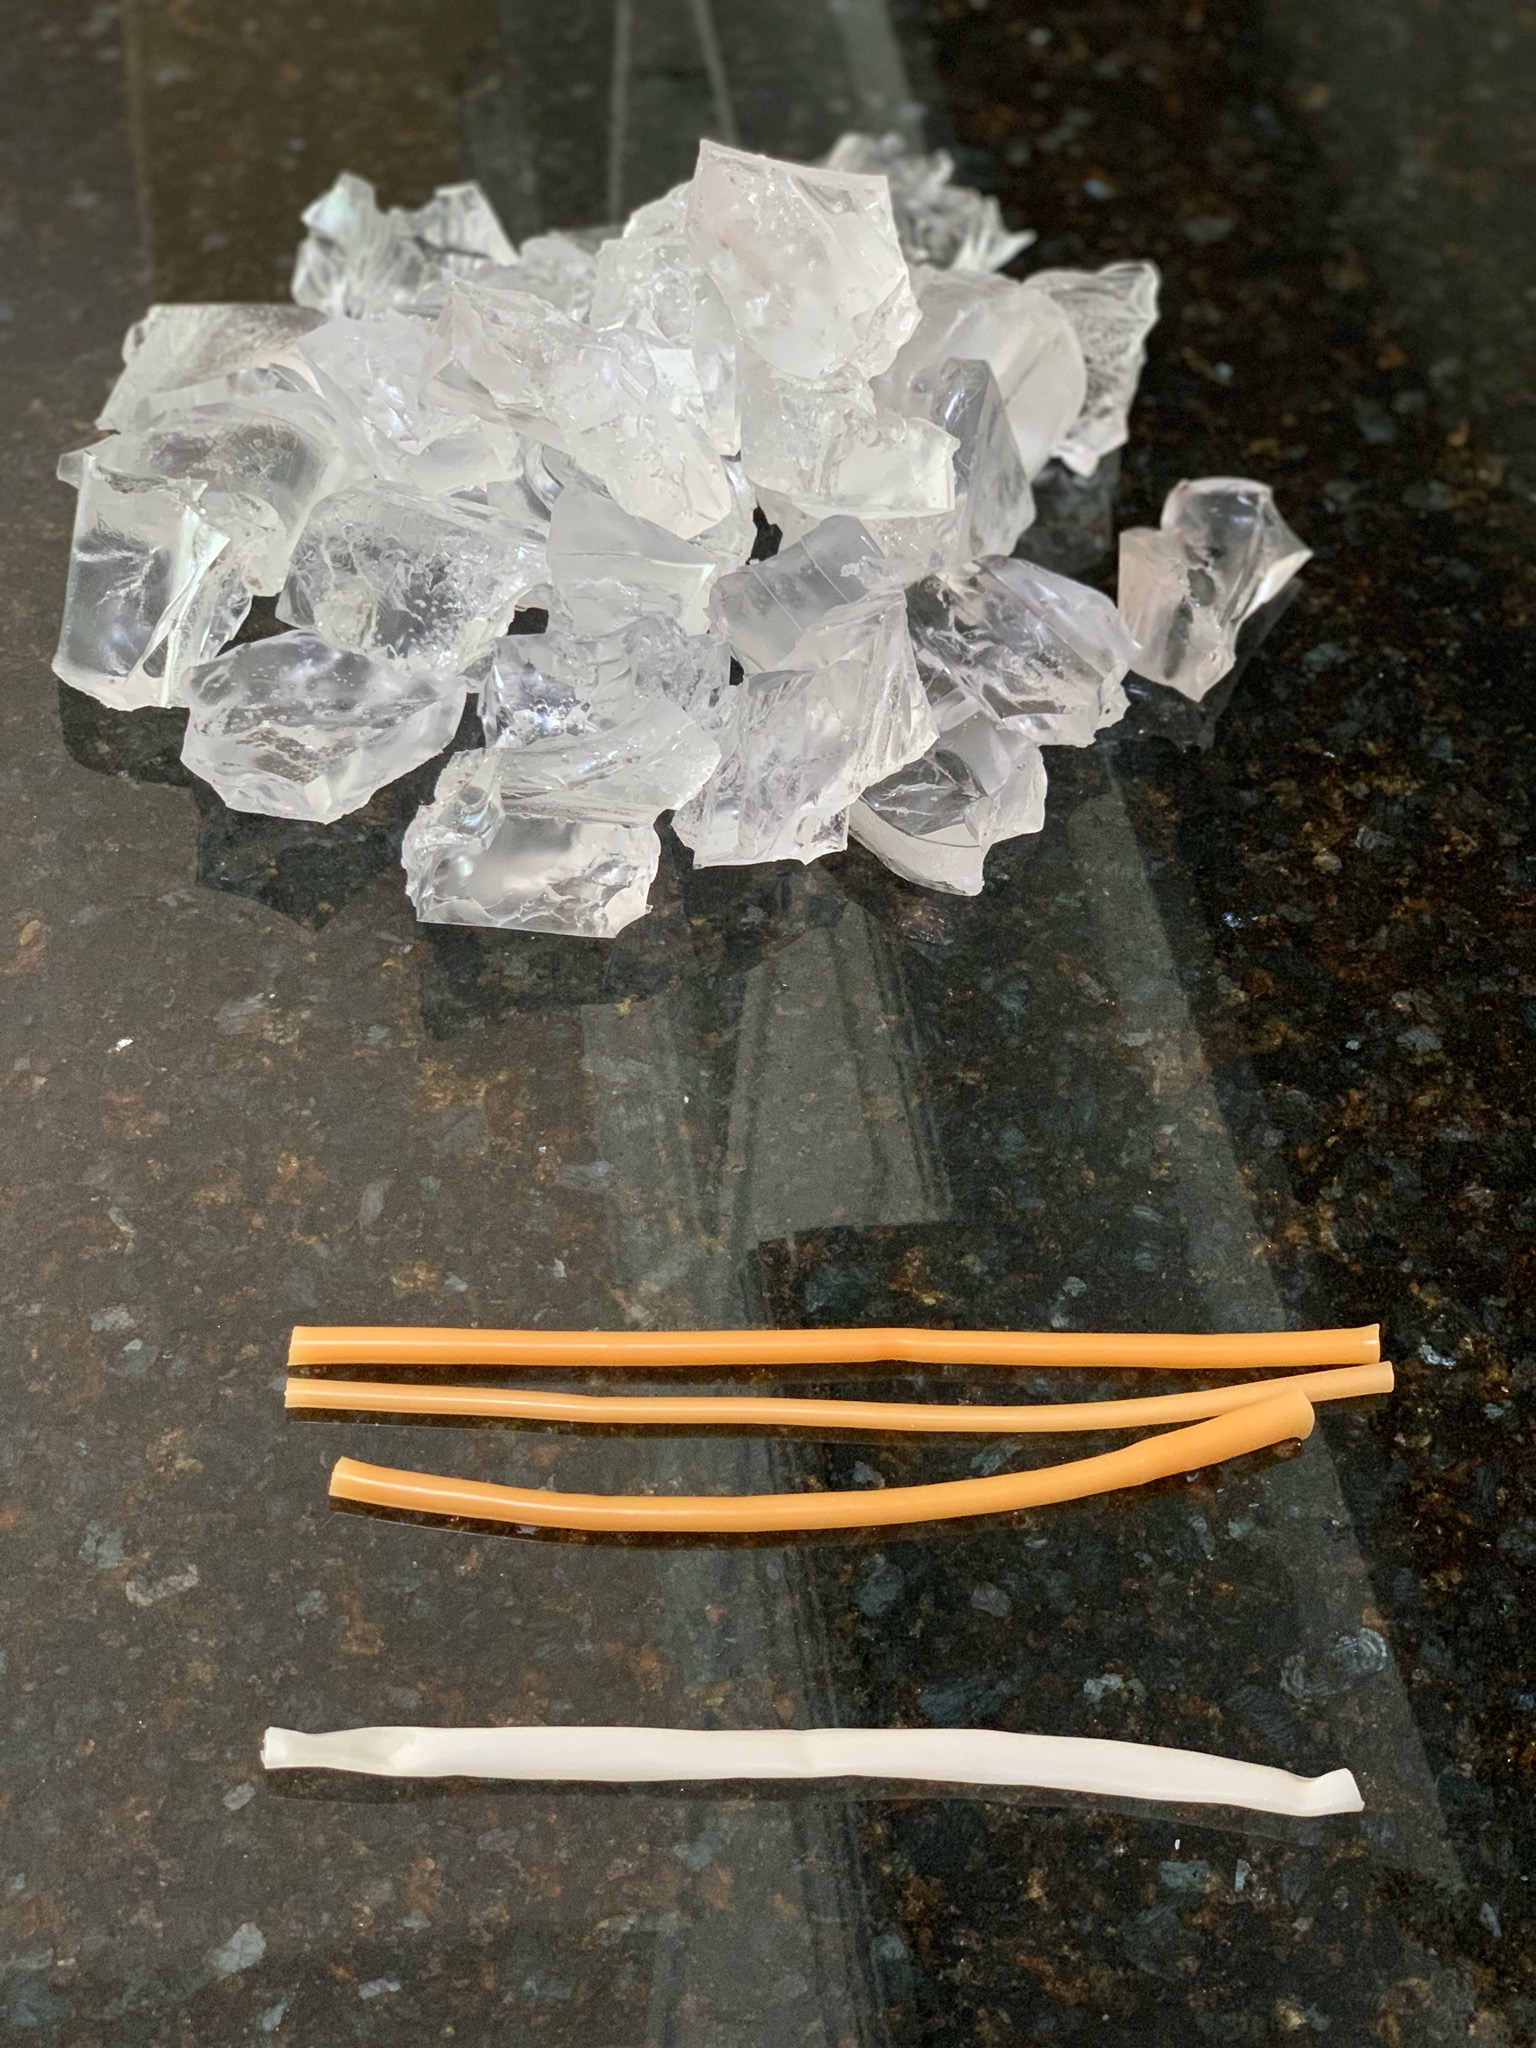
Place foleys, JP drains, or long balloons on top of the partially cooled gel. It should be cooled enough so that it doesn’t sink into the gel when you place it on top.
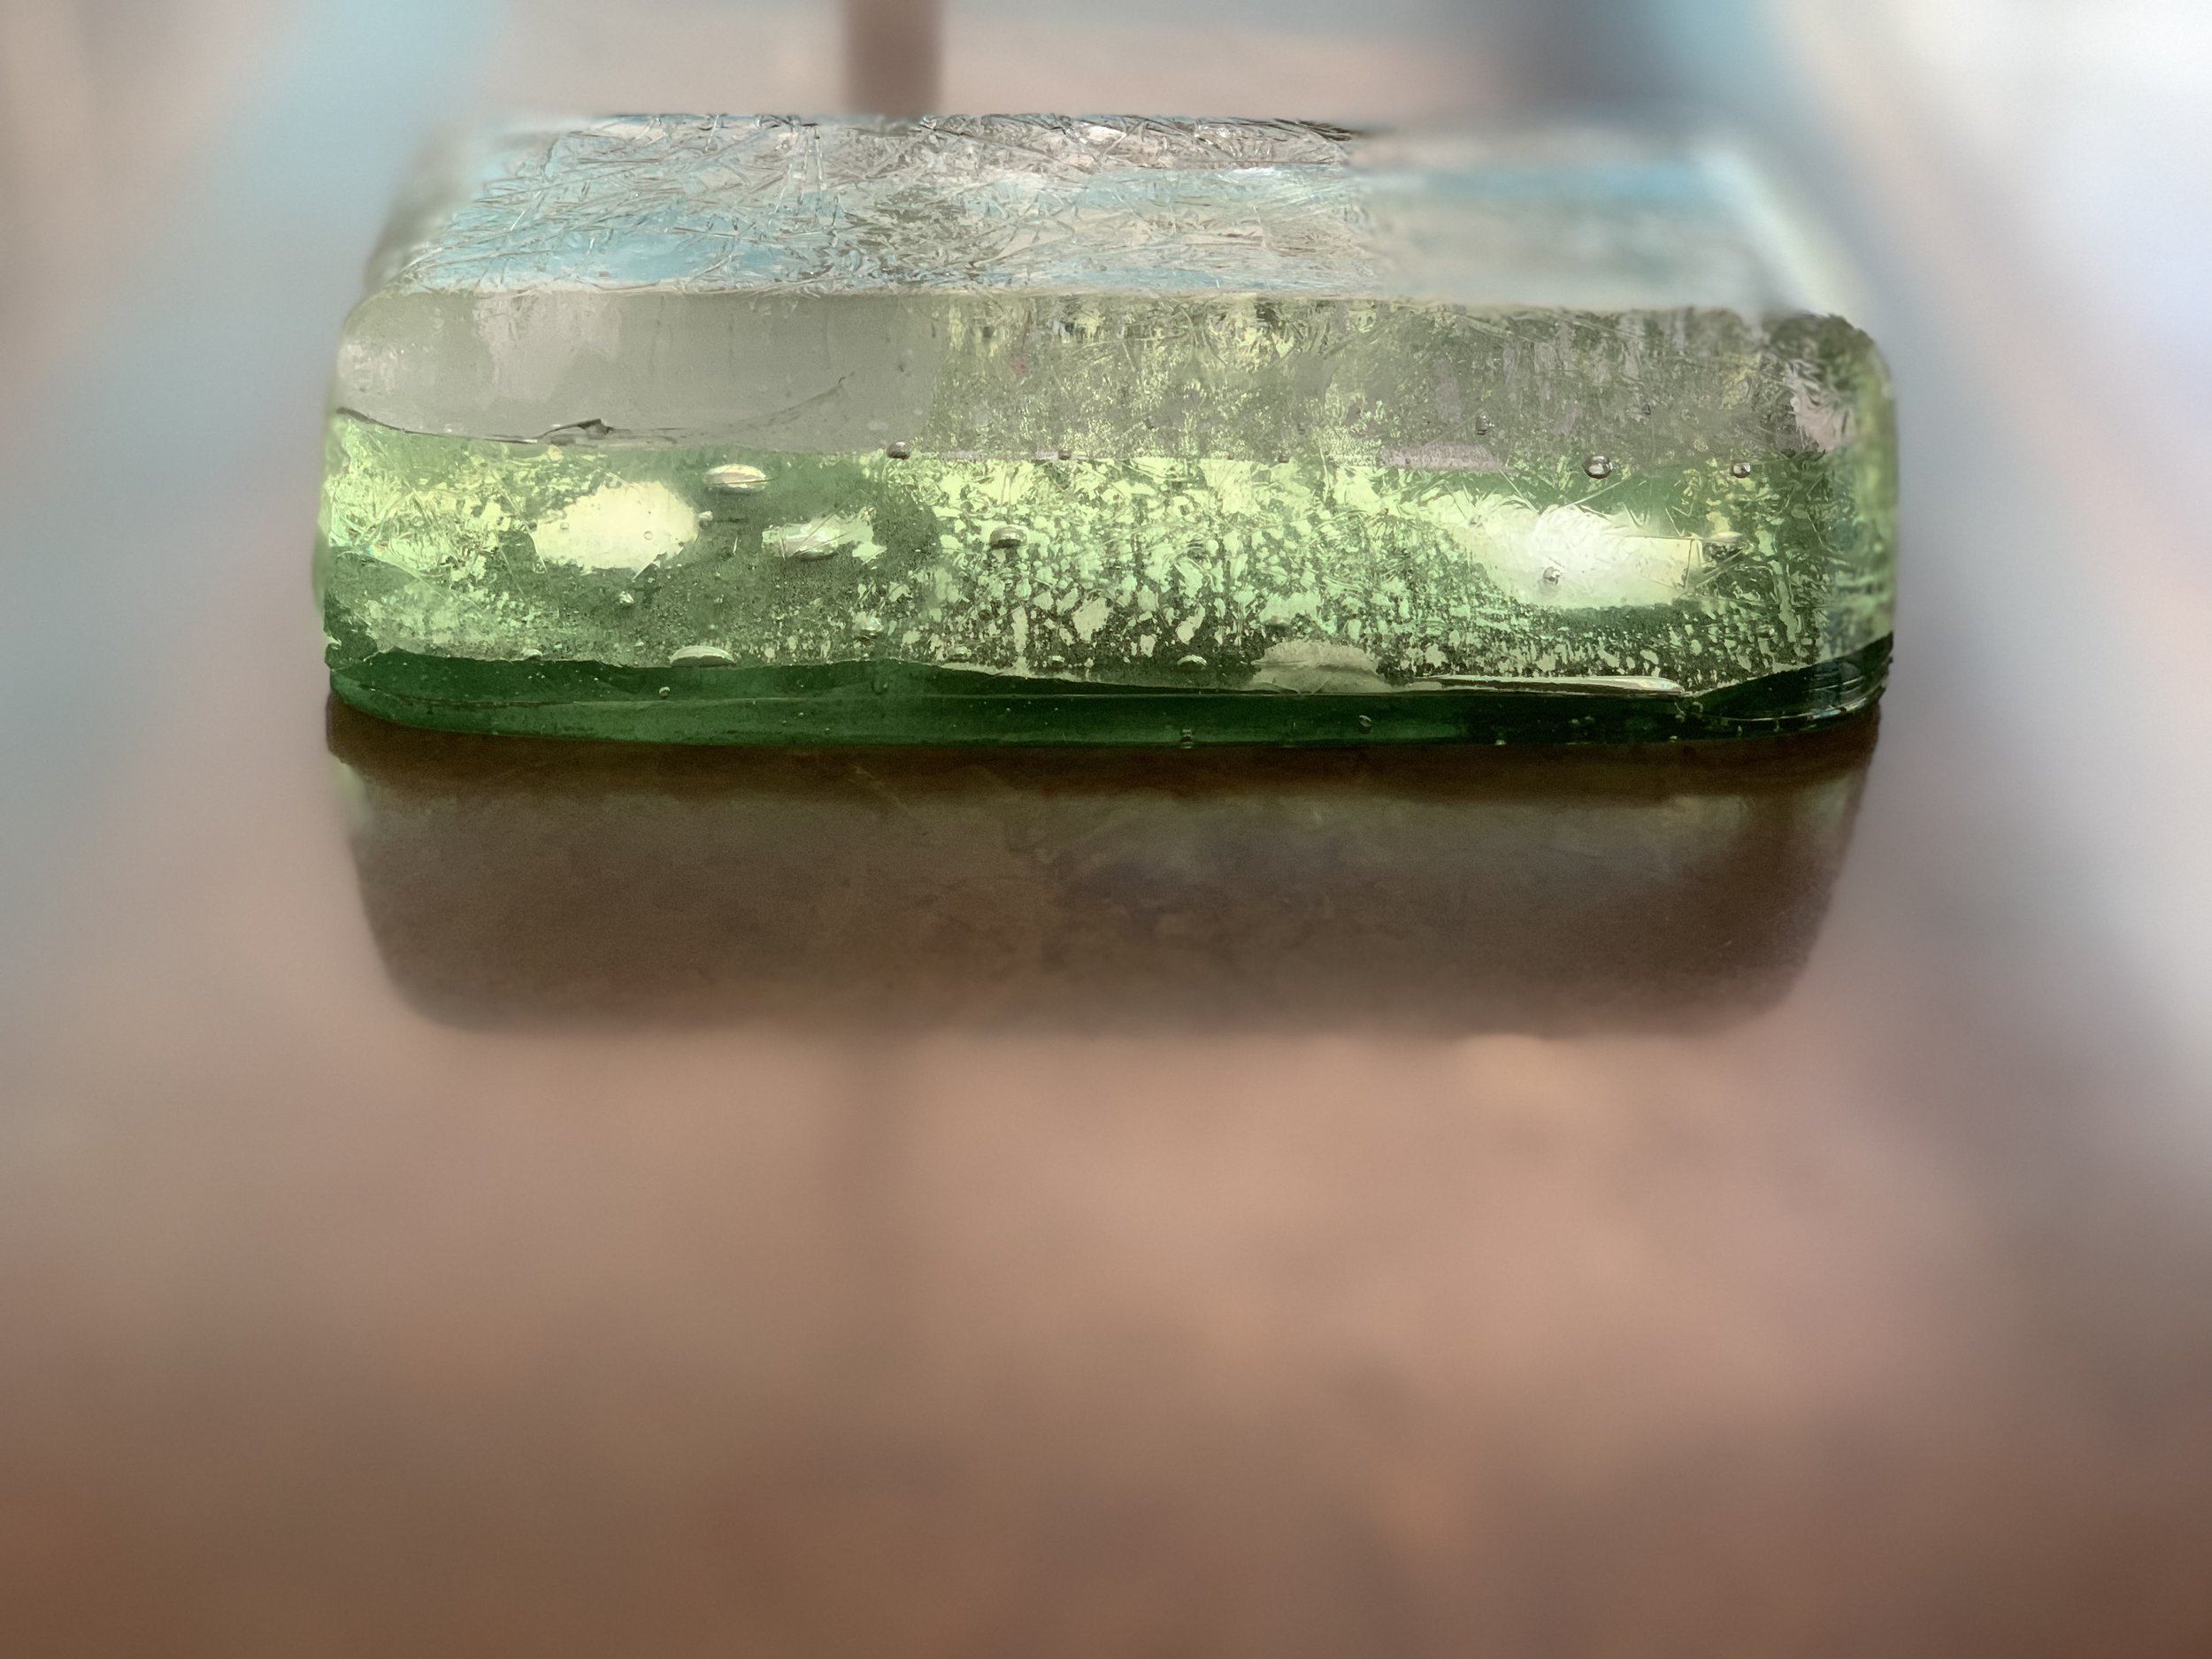
Note: if it’s too soon and you have to pull the foley out, it makes a defect in the gel. Simply place the bread pan back in the oven and take out the other one to cool for 10 minutes and go back to the beginning of step 4.After the foleys and balloons are on the gel, take out the second bread pan that has no bubbles (or very few bubbles), and pour it on top of the foleys in the 1st gel bread pan.
If you have 3 bread pans (Goodwill store), you can make a 3rd layer with more foleys, balloons, marbles, or any item that can be easily peeled out of the gel later when you remelt it.
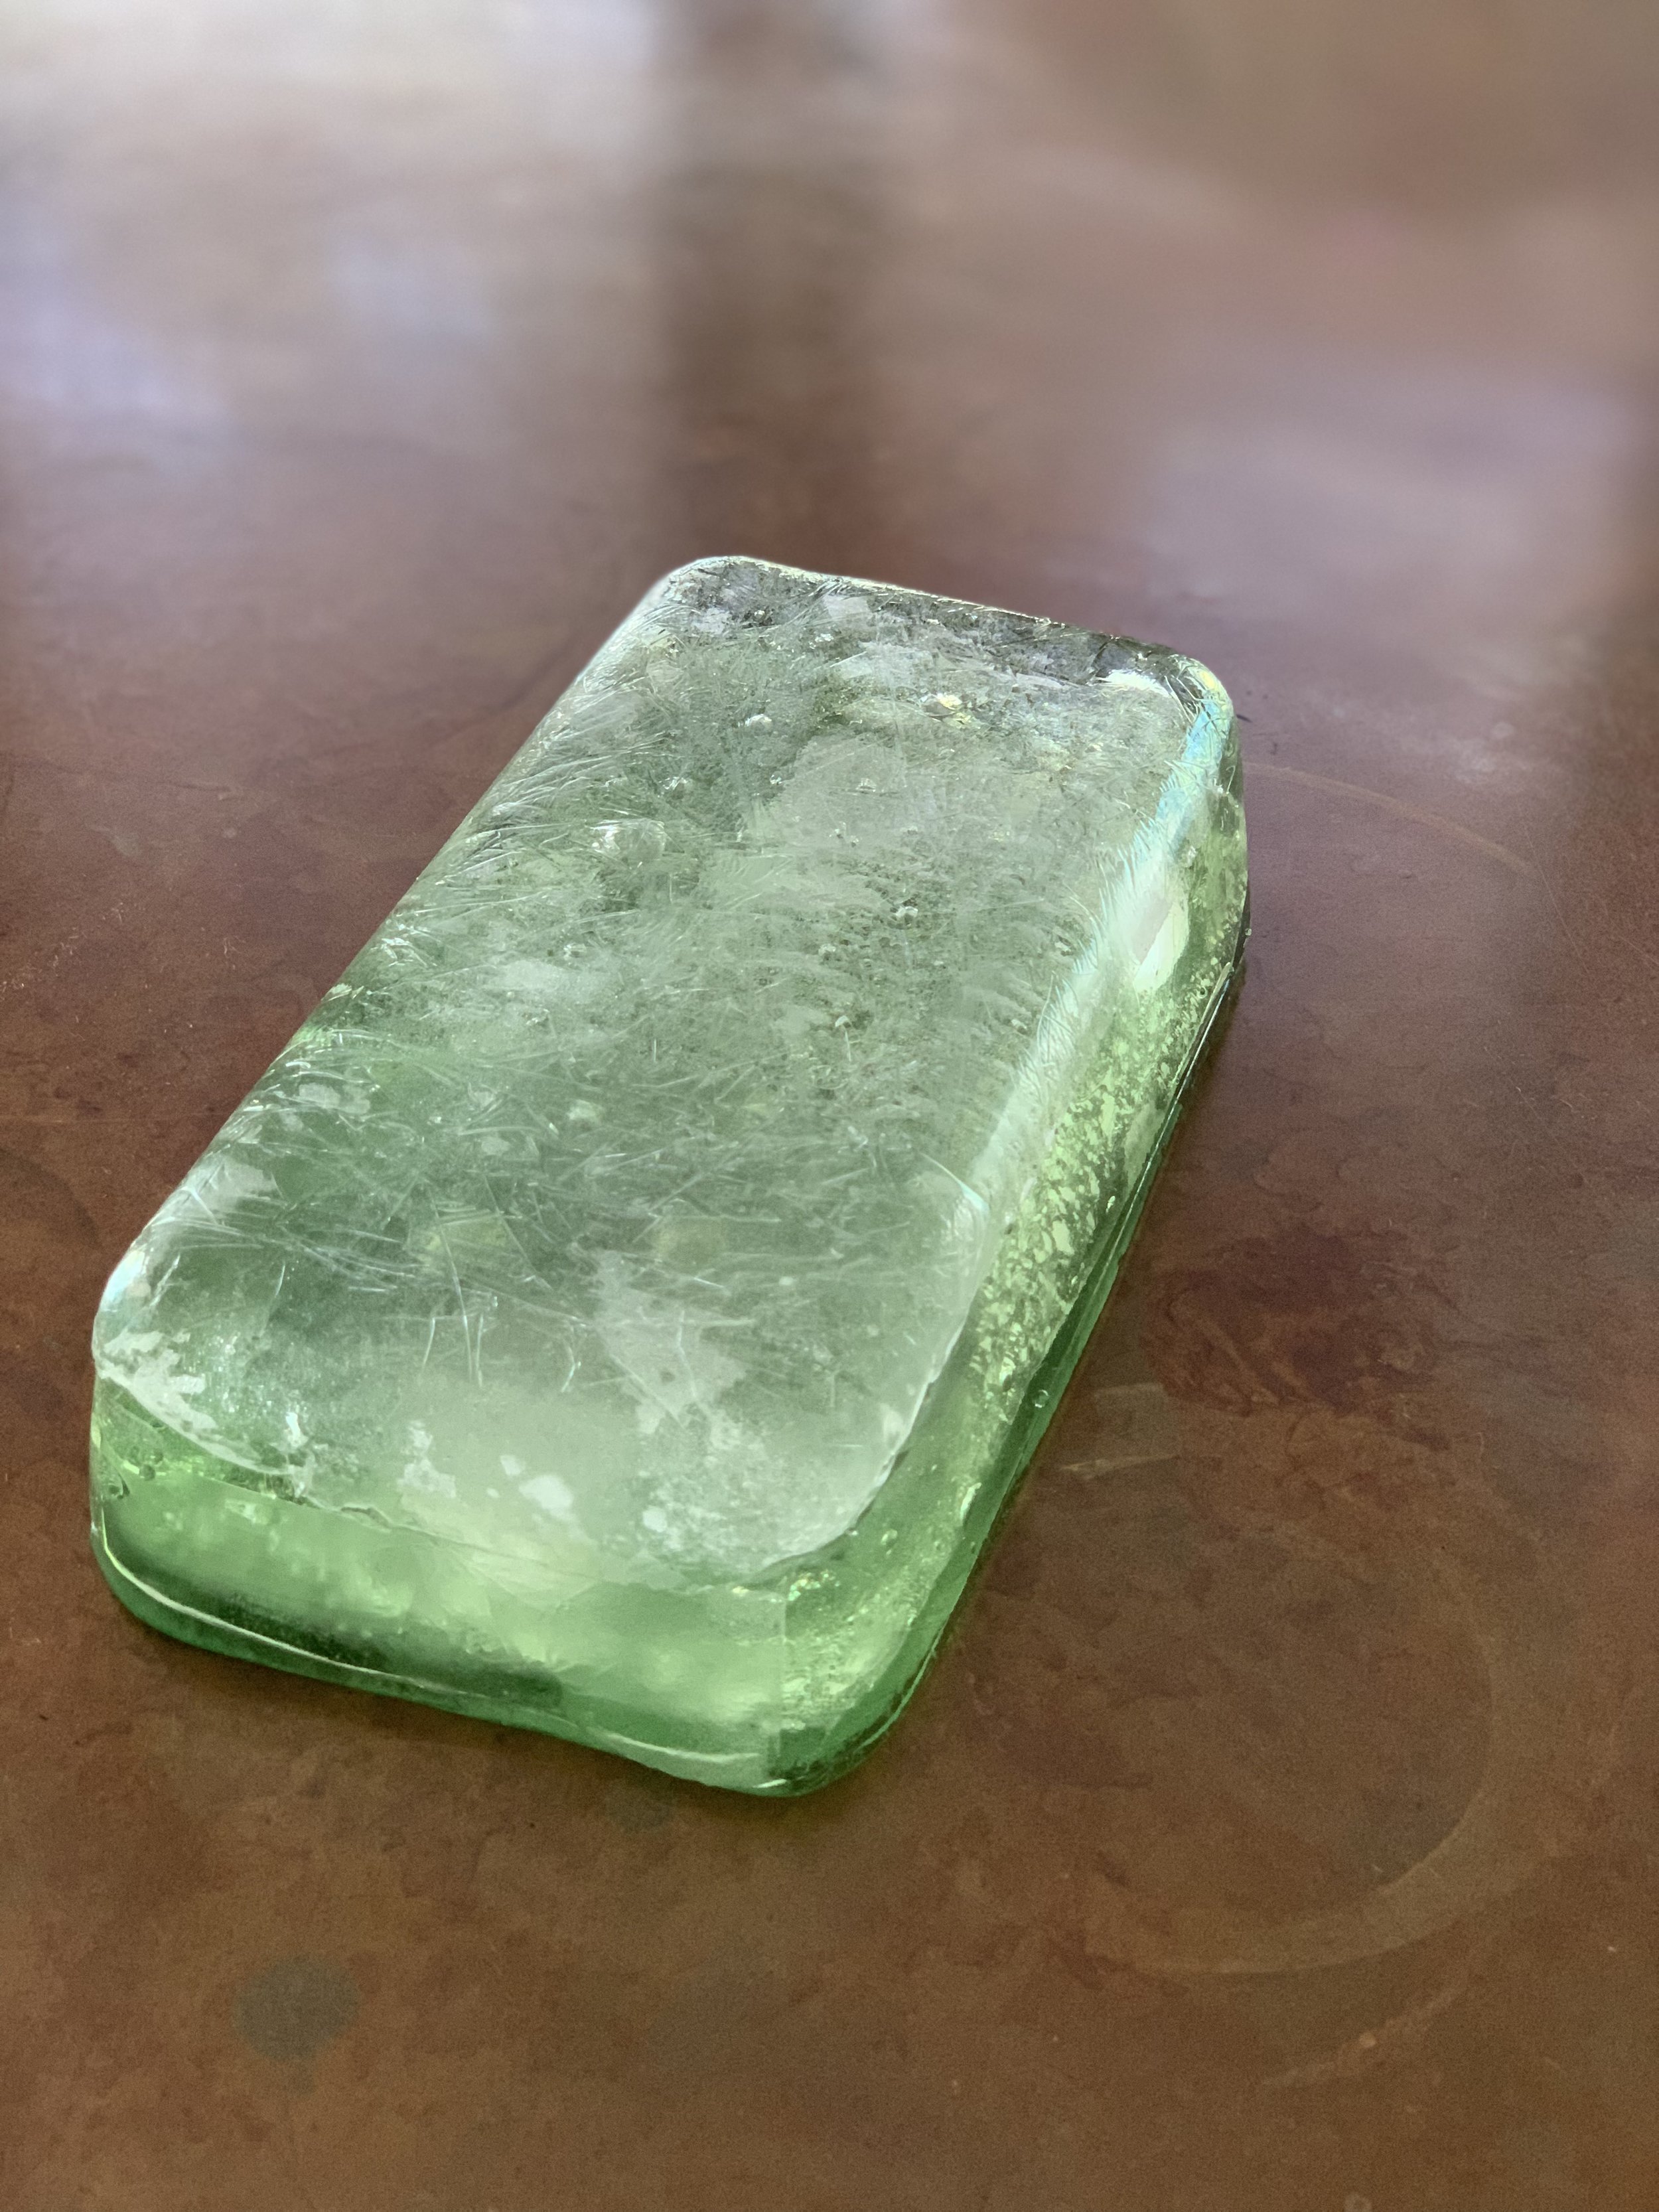
It is recommended that the gel cools for a total of 24 hours but we have removed the gel from the pans in as few as 2 hours. Some experimentation may be required and depending on your oven, times and results may very.